To start, make sure to download and install the latest version of Dropbox, which at the time of this writing is 2.4.1.
Upload and Share Screenshots with Dropbox
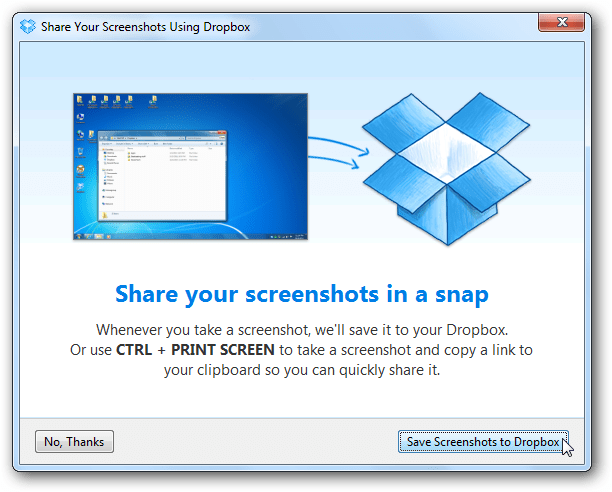
After installation and setting it up, hit the PrtScn button on Windows or Command+Shift+3 on Mac you’ll see the following dialog box. Confirm you want to enable the feature.
Then when you go to your Dropbox account online, you’ll see a new Screenshots folder has been added.
Of course there will be a Screenshots folder in your local Dropbox folder too.
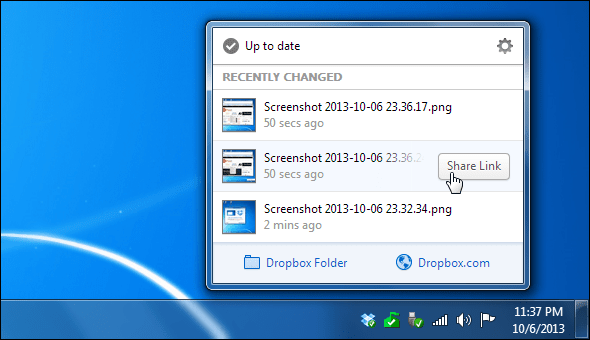
You can share screenshots by clicking the Dropbox icon in the system tray. Or, use the keyboard combination Ctrl+PrntScn while taking the shot and a link to the screenshot will automatically be added to the Clipboard.
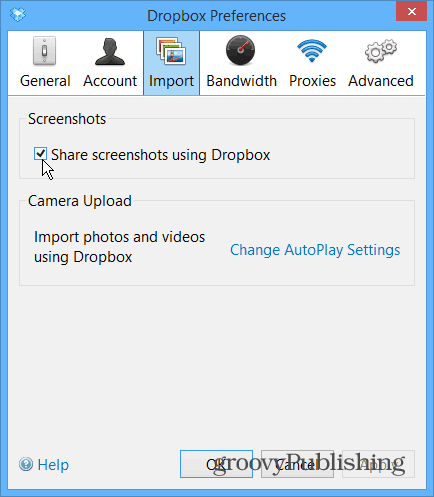
If you want to disable auto uploading for any reason, just go in to Preferences and uncheck “Share screenshots using Dropbox” under the Import tab. You can also disable the automatic photo uploading feature in Preferences too.
Comment Name * Email *
Δ Save my name and email and send me emails as new comments are made to this post.


![]()
