That is, of course, as long as PowerPoint is available to use. If you want to share your slides more widely without relying on a PowerPoint installation, you’ll need to look at converting your PowerPoint file to other formats. One way to do this is to convert a PowerPoint to a video. You can share a video file with your audience directly or upload it to sites like YouTube for wider access. If you want to convert a PowerPoint presentation to video, here’s what you’ll need to do.
Exporting a Presentation as a Video in PowerPoint on Windows
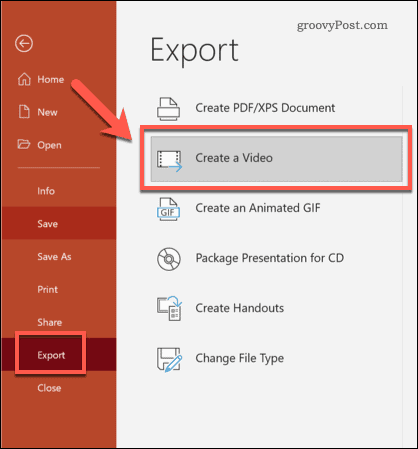
PowerPoint users on Windows can convert any presentation to video, but the methods will vary. These steps will assume you’re using PowerPoint 2016 or later, or that you’re a Microsoft 365 subscriber. While you can convert PowerPoint to video in PowerPoint 2013 and 2010, the steps will differ, as will the video quality options available to you. To start, open your presentation file in PowerPoint 2016 or later. From the menu, press File > Export > Create a Video.
Selecting Export Video Quality
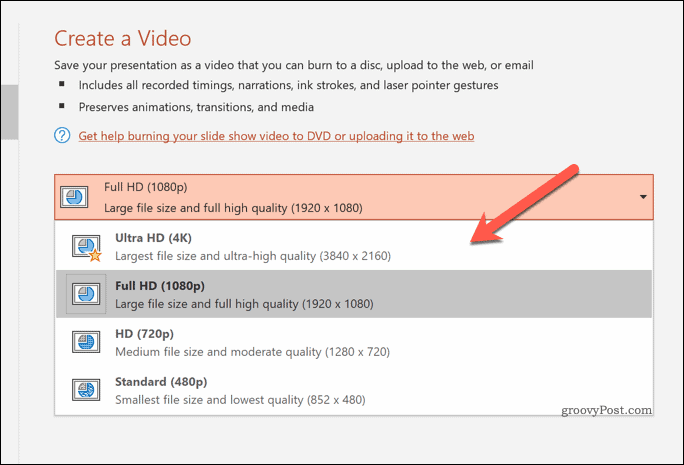
In the Create a Video menu, you’ll need to select the quality of your exported video first. Using the first drop-down menu, select the quality of the video. You can choose between Ultra HD (4K), Full HD (1080p), HD (720p), and Standard (480p). The higher the selected quality, the larger the video file.
Setting Export Video Timings
Once you’ve selected the quality, you’ll need to determine how the video plays each slide. If you want to manually record your timings, press the Record Timings and Narrations option in the second drop-down menu. This will begin a recording of your presentation, allowing you to stay on each slide for as long as you prefer. You can also narrate the presentation as you work through it, with these narrations saved in your video.
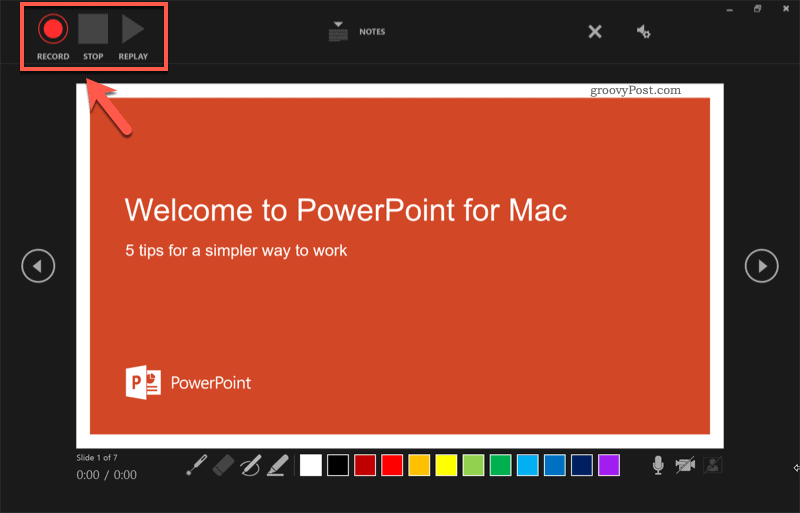
If you decide to record your presentation, PowerPoint will switch to the recording video display menu. Press the Record option to start recording, then press Stop to stop recording. Press the Escape key on your keyboard to exit this view once you’ve completed the recording.
Once you’ve recorded your timings, select Use Recorded Timings and Narrations from the drop-down menu.
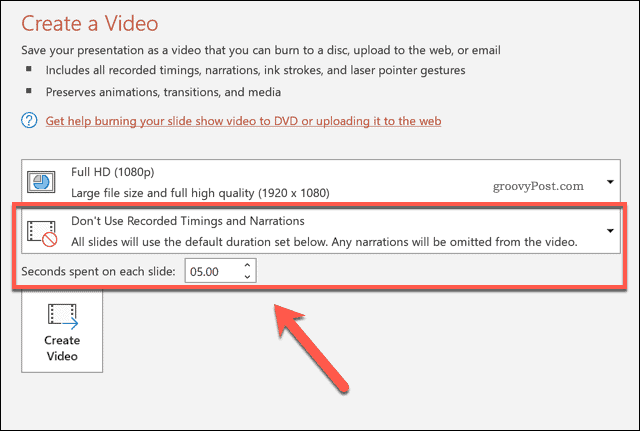
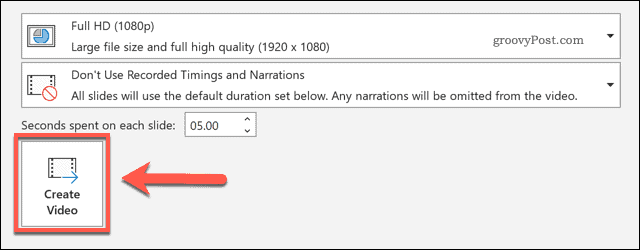
If you’d prefer to spend a set number of seconds on each slide, select Don’t Use Recorded Timings and Narrations from the second drop-down menu instead. You’ll need to choose a suitable time (in seconds) using the Seconds spent on each slide box afterwards.
Exporting Your Video
Once you’re ready to export your video, press the Create Video option.
Allow PowerPoint some time to complete this process, depending on the size of your presentation. Once exported, you can then play your video locally, move it to another device for playback, or upload it online for playback on YouTube or elsewhere.
Saving a PowerPoint Presentation as a Video in PowerPoint on Mac
If you’re using PowerPoint on Mac, you can export your presentation in a similar way to Windows users. This option is only available for PowerPoint 2019 and Microsoft 365 subscribers, however. If you’re running PowerPoint 2016 or later, you’ll need to follow the steps below to use an online converter instead. To convert a PowerPoint presentation on Mac in PowerPoint 2019 or later, open your presentation file first. From the menu, press File > Export.
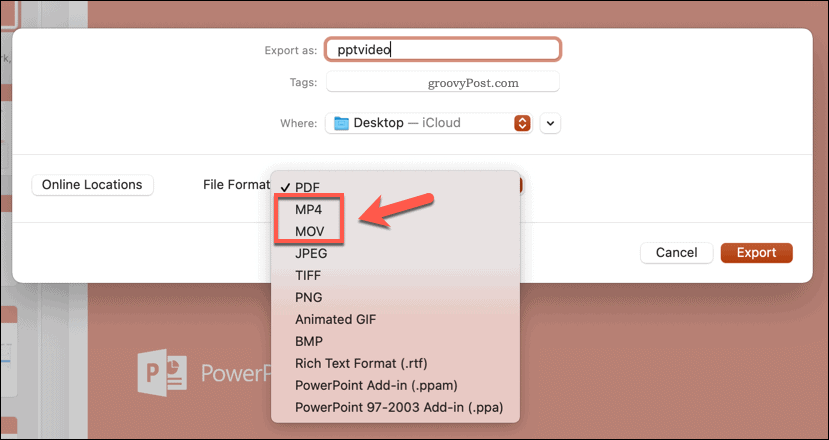
In the Export pop-up, determine where you’d like to save your file and type a suitable filename. In the File Format drop-down menu, select an appropriate video format. Mac users can export PowerPoint files in the MP4 or MOV video file formats.
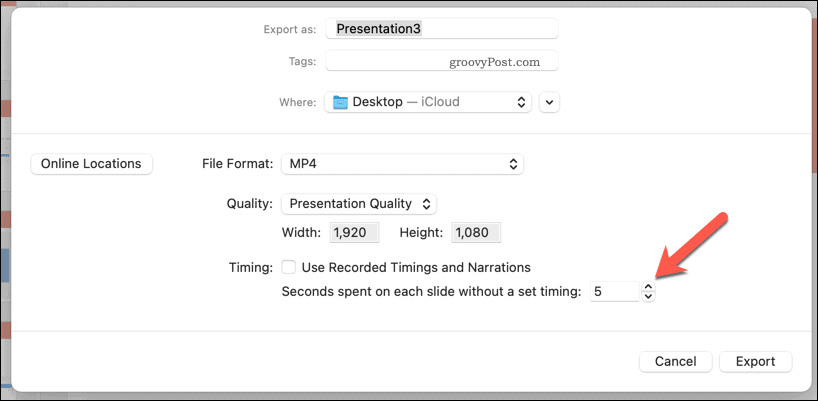
With the file format selected, you’ll need to determine the quality of the exported video. Choosing Presentation Quality will export the video in the native PowerPoint resolution (typically 1080p Full HD). If you select Internet Quality, the quality will reduce to 720p. For the lowest quality, select Low Quality, with the video exported in 480p. The lower the resolution you choose, the smaller the output file.
Finally, you’ll need to determine the timings used to switch between slides. If you want to loop your presentation automatically, press the Use Recorded Timings and Narrations checkbox.
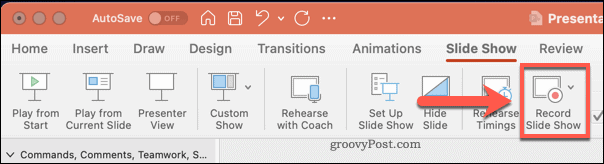
If this checkbox isn’t available, return to the main PowerPoint editor and select Slide Show > Record Slide Show. You’ll need to use the recording view to record the timings and narration for your presentation first.
Otherwise, you’ll need to set how long the video will display each slide before it moves on. If you’d prefer to set these timings manually, leave the Use Recorded Timings and Narrations checkbox unchecked, then choose a value (in seconds) from the box below.
Press the Export button to begin exporting your video.
Once exported, you can play your video file in a suitable video player (such as VLC) or export it to another device for playback. You can also upload it online using social media or video sharing sites like YouTube.
Using an Online PowerPoint Video Converter
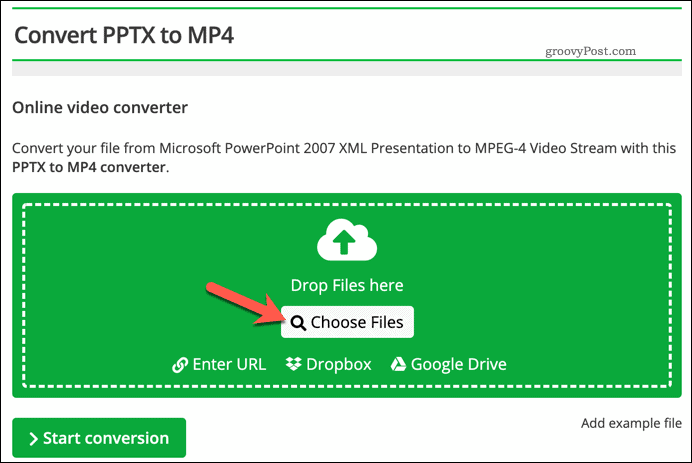
If you don’t have PowerPoint installed on your PC or Mac, you can use an online video converter to convert a PowerPoint to video instead. There are several options available, but one of the best is the PPTX to MP4 online file converter. While services like this one are usually safe, you should remember that you’ll need to upload your file to a remote server, where there are no absolute guarantees that your data is deleted after the file is converted. If your PowerPoint contains sensitive or personal data, you should avoid using online services to convert your file. If you’re happy to use this service (or similar), start by uploading your PowerPoint file using the box provided. You can press Choose Files to select your file manually or drag-and-drop the file into place instead.
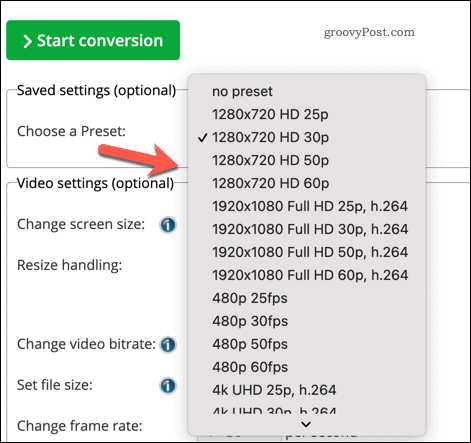
Once you’ve uploaded your file, you can change the resolution, video bitrate, codec, frame rate, file size, and more. You can set these manually, or select a preset video quality profile from the Choose a Preset drop-down menu to select them for you.
Press the Start conversion button to begin the conversion.
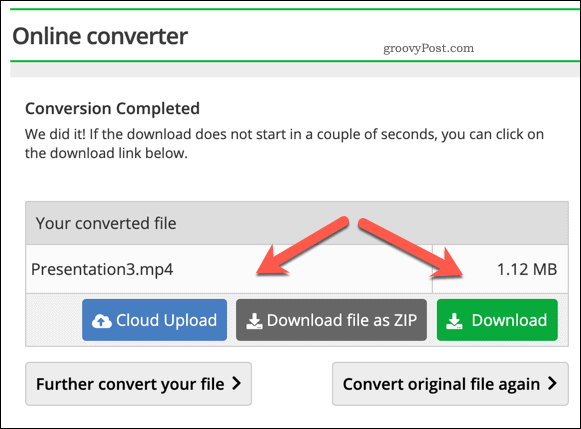
Depending on your presentation size, this could take a few moments to complete. Once the file is converted, press Download to download the file or Download file as ZIP to download it in a compressed ZIP file. Alternatively, press Cloud Upload to automatically upload your file to your preferred cloud storage service.
Presenting Information Using PowerPoint
While converting a PowerPoint to a video is a good way to share your information with a wider audience, there are other ways you can present your information. You can add GIFs to a PowerPoint to learn more on the visuals, or insert PDFs into your PowerPoint to focus more on the text. You can also record or add audio to a PowerPoint to add music (or your own voice) to your presentation. If you’re presenting live, you might want to add speaker notes, giving you extra points to mention without filling up your slides.


![]()
