You’ll need a USB flash drive that’s at least 256 MB and all content will be erased from it. I recommend you use a drive specifically for recovery only. Then keep it in a safe place so you can use it in case disaster strikes. Insert the USB flash drive in an empty USB port on your computer, then hit Windows Key + W on the Keyboard and type: recovery in the search field.
You can also access the Recovery Drive utility from the desktop by pulling up the Power User Menu, going into Control Panel and selecting Recovery. The Recovery Drive wizard will open up on your desktop. Note: If your system came with a recovery partition, you can copy it to the recovery drive so you can return your system to factory settings. In this example my system doesn’t have one, so the option is grayed out.
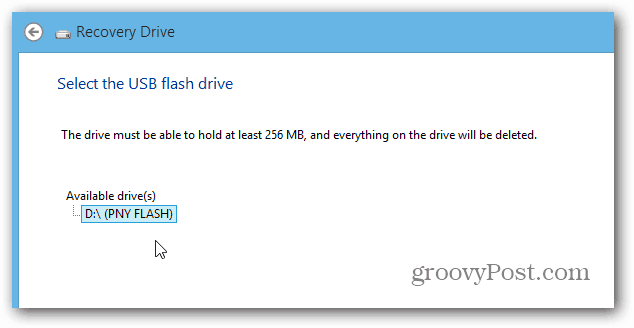
Next select the USB flash drive you’re using for the recovery. If you have multiple drives plugged in to your PC, verify you’ve selected the correct one.
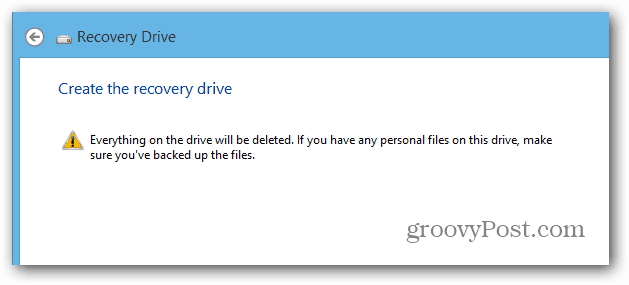
You’ll get a second message warning you that everything on the flash drive will be deleted – click Create.
Now wait while the drive is formatted and recovery drive is created.
That’s it. Click Finish to close out of the wizard, safely eject your USB flash drive and store it in a safe location.
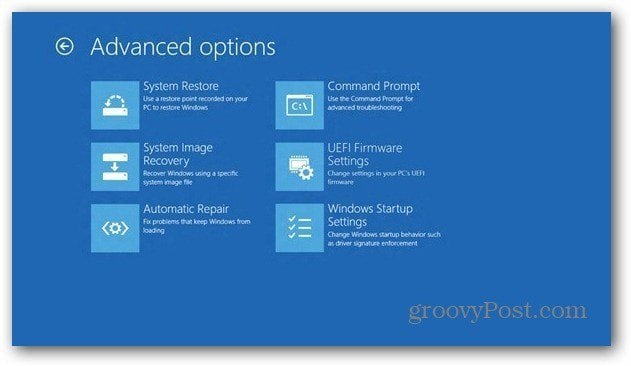
Now when if you’re unable to boot into Windows for any reason, you can boot from the Recovery Drive and start troubleshooting the issue.
Comment Name * Email *
Δ Save my name and email and send me emails as new comments are made to this post.


![]()
