This is thanks to read receipts, which let the sender know if an email is opened (and when). While Gmail does support this feature, it is limited to certain work and school-based Gmail accounts. Standard Gmail accounts can use third-party services to overcome this issue, however. To enable and use read receipts in Gmail, here’s what you’ll need to do.
Support for Read Receipts in Gmail
Standard Gmail accounts (such as those created for free) aren’t able to send or receive read receipts using built-in methods. This is a limitation of the account itself, with read receipts disabled in an effort to limit their use by spammers. If you have an organizational Gmail account (such as a Google Workspace account), you can send and receive read receipts. These accounts are usually provided by schools and workplaces, for instance. Sending and receiving read receipts between organizational Gmail accounts will work. It isn’t foolproof, however, as a recipient can still decline to send a read receipt, or delay sending it until they next re-read the message. Read receipts also won’t work for users who send emails to group lists or if your Gmail account administrator disables the setting. You may also find that read receipts also fail to work in certain third-party email clients. If this is the case, you’ll need to use a third-party option like Mailtrack, which you can install and use by following the steps below.
How to Request a Read Receipt in Gmail
If you’re using an organizational Gmail account with support for read receipts, you can request them in any email you send. However, read receipts sent this way will only work with other supported accounts.
On PC or Mac
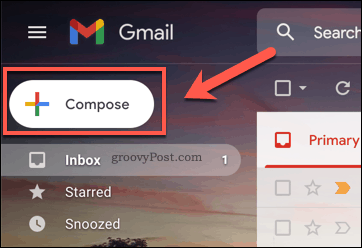
To request a read receipt in Gmail on a Windows PC or Mac, open Gmail in your web browser and sign in. Once you’ve signed in, press the Compose button to begin creating a new email.
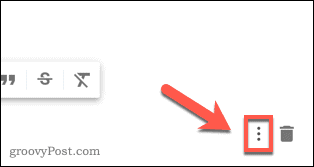
In the New Message box, compose your email, adding recipients, a subject line, and the body text. Once you’re ready to send the email, press the More options menu icon in the bottom-right corner, next to the trash icon.
From the menu, select the Request read receipt option. If you don’t see this option, then your account doesn’t support the feature. With the setting active, press Send to send your email to your recipients with read receipts requested.
Once your recipients receive the email, they can return the receipt as they’re reading the email or postpone it.
On Mobile Devices
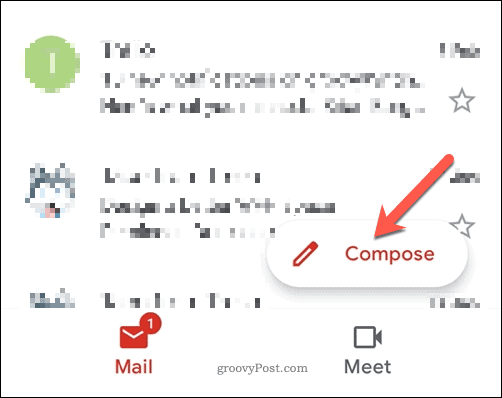
If you’re using the Gmail app on an Android, iPhone, or iPad device, you can also request read receipts. To do this, open the Gmail app and switch to an organizational account by tapping the account icon on the search bar. To send a new email, tap the Compose button in the bottom right corner.
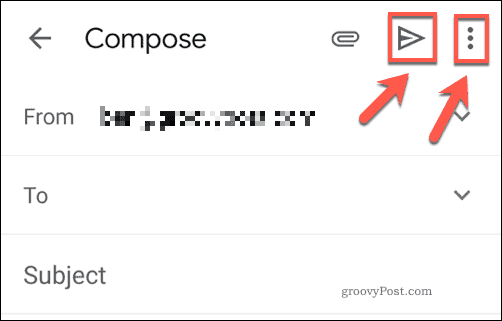
Compose your email as normal in the Compose menu, adding recipients, a subject line, and body text. Once you’re ready to add read receipts, select the Request read receipt option from the three-dots menu in the top-right corner. If you don’t see this option available to you, your account may not support the feature, or you may need to try it in your browser instead. When you’re ready, send the email by pressing the Send button.
Alternative Methods for Securing Email Read Receipts
The method above does work to send and receive read receipts in Gmail, but only for Google Workspace users. There are alternatives, however. For instance, if you’re looking for a third-party option that should work for any email you send, you can use Mailtrack instead. Available for free with some additional paid features, Mailtrack adds tracking support to your Gmail account by adding a small image to emails you send. Paid accounts can hide the image entirely, reducing it to a hidden pixel-sized image that the recipient won’t see. When the email is opened and the image loaded, Mailtrack assumes the email is read and notifies you. While it isn’t foolproof (images could be blocked, for instance), it offers the best way to add free email receipts to standard Gmail accounts.
Installing Mailtrack
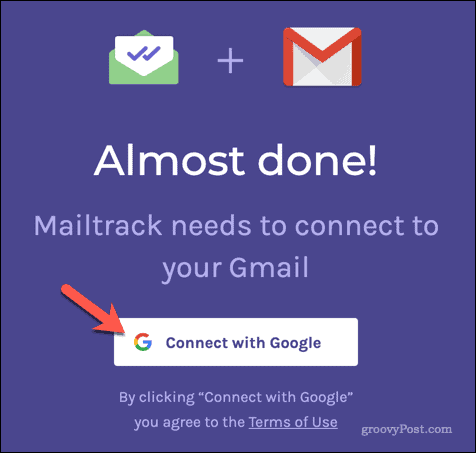
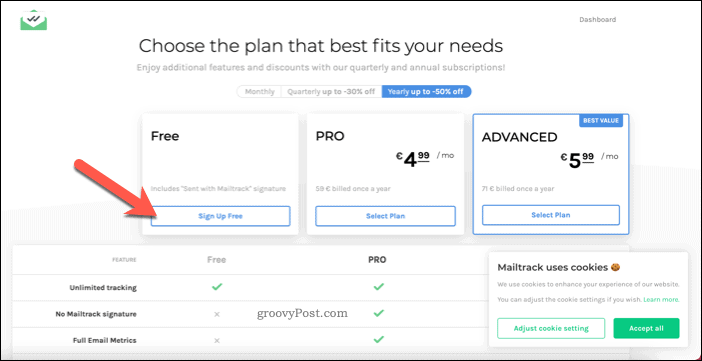
To add Mailtrack to your account, you’ll need to use Google Chrome and install the Mailtrack extension. You may also be able to install this extension using the Chromium-based Microsoft Edge browser instead. When you install the extension, Mailtrack will need to connect with your account to work properly. In the pop-up tab, press the Connect with Google button. You’ll need to sign in with your account and allow Mailtrack access. Select the plan you wish to use—click Sign Up Free if you want to use Mailtrack for free.
Once selected, Gmail will reload. Mailtrack is now active and ready to use, as long as you’re using Chrome or Microsoft Edge with the Mailtrack extension running. Tracked emails will work with any user who loads images, however.
Sending Tracked Emails in Mailtrack
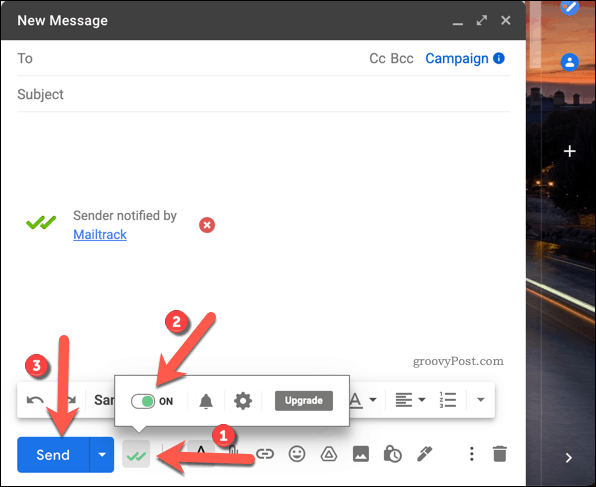
To send a tracked email, press Compose and add your recipients and message. To enable or disable Mailtrack tracking, press the green tick symbol next to the Send button. From the pop-up menu, click the slider to switch it On or Off. When you’re ready to send, press Send.
Using Mailtrack, you’ll see a pop-up appear whenever a tracked email is opened (as long as browser notifications are enabled). In the Sent folder, Mailtrack will change the status of your sent email to Active when the email is recently opened.
You can check how long ago the email was opened by opening the sent email and pressing or hovering over the two ticks icon next to the forward button.
In the pop-up, you’ll see the most recent viewing history for your email. Depending on your Mailtrack plan, you’ll also see a wider history log that includes how often (and when) your recipient has opened the email.
Using Gmail Effectively
While Gmail read receipts are a good way to check that people are reading your important emails, use them sparingly. There are other ways you can use Gmail more effectively, however. For instance, you can add contacts in Gmail for people you contact often or block email senders who prove to be a nuisance. You can also bulk forward your emails to others (or to another email account you own) to clean up your inbox. If you want to retract an email in Gmail, you better be quick or increase the undo send reaction time to give yourself some additional breathing space.
![]()


![]()

